
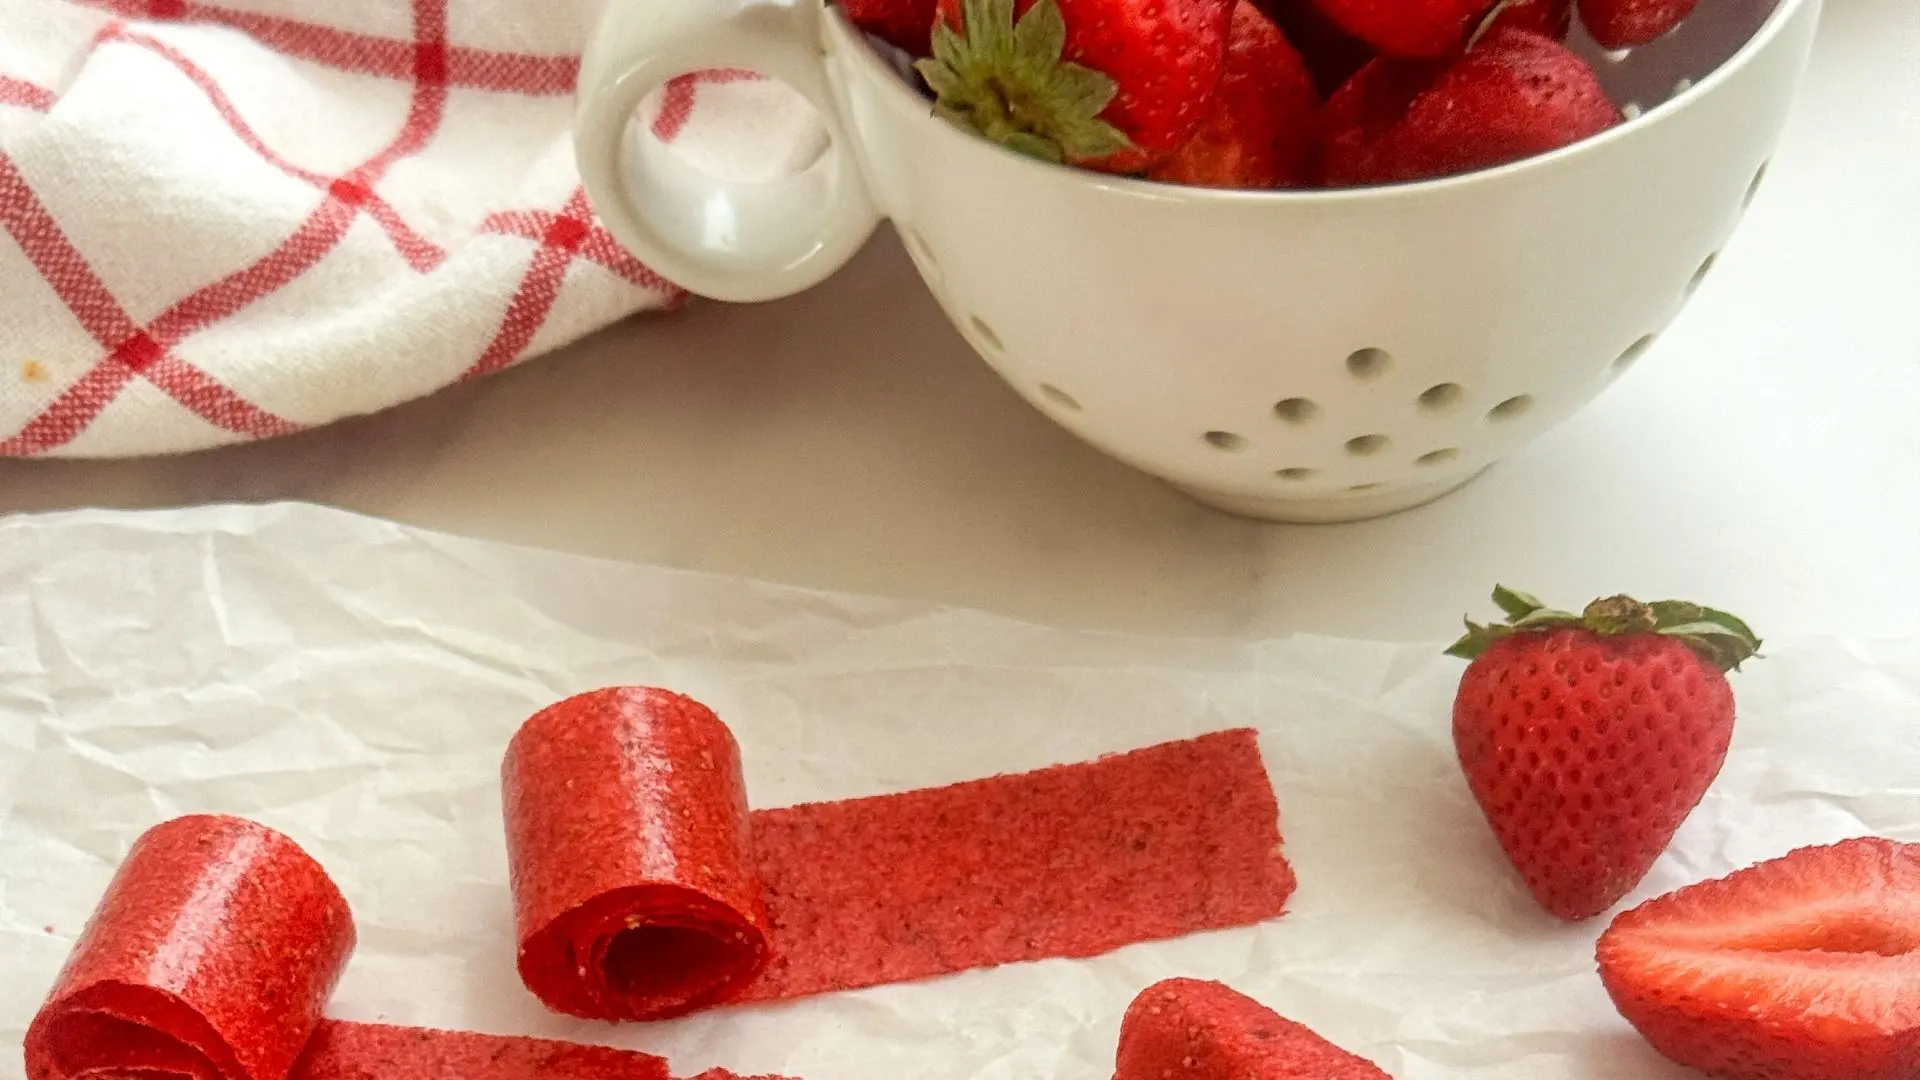
Fruit roll-ups feel like a childhood classic — the kind of lunchbox treat kids are excited to unwrap. The only problem? The store-bought versions often come packed with added sugars, dyes, and ingredients you can’t pronounce. That’s why homemade fruit roll-ups are such a win: they’re bright, fresh, and surprisingly easy to make.
With just strawberries and lemon juice (plus a touch of maple syrup if you want to sweeten things up), you can turn a tray of fruit into chewy, all-natural strips that feel like a treat but pack the goodness of real fruit. They’re perfect for school lunches, afterschool snacks, or even a little mom-approved nostalgia.
Forget Store-Bought — These Homemade Fruit Roll-Ups Are Better
Method
Prep the fruit.
- Preheat the oven to 175°F. Wash strawberries and remove the green stems.
Blend until smooth.
- Place strawberries and lemon juice in a blender. Blend until completely smooth. Taste, and if you’d like it sweeter, add maple syrup.
Spread the puree.
- Line a 13 x 18-inch baking sheet with a silicone mat. Pour puree onto the mat and spread evenly to about ⅛-inch thickness. An offset spatula works best for an even layer, but the back of a spoon does the job too.
Bake low and slow.
- Bake for 3 hours, checking around the 2 ½-hour mark. The fruit roll-up is ready when it’s dry to the touch and doesn’t dent when pressed lightly.
Cut into strips.
- Once cooled slightly, peel the fruit leather off the silicone mat and place it on a cutting board. Use a pizza cutter or sharp knife to slice into 1–1 ½-inch strips. Roll them up and enjoy.
Notes
Helpful Tips
- Storage: Store in an airtight container at room temperature for up to 1 week.
- Roll & Pack: Roll each strip in parchment paper to keep them from sticking, especially for lunchboxes.
- Mix it up: Try swapping strawberries for raspberries, mango, or mixed berries for fun flavor variations.